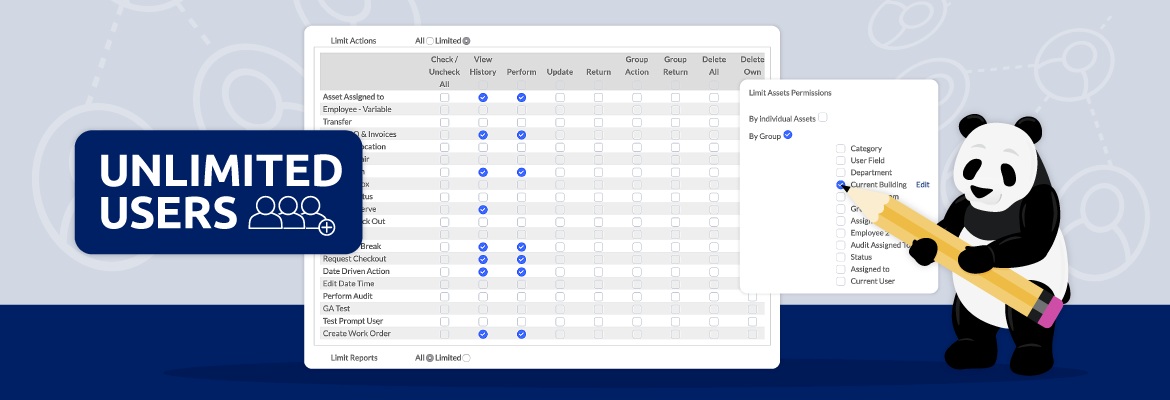
Getting Started with Asset Panda User Permissions

Investing in the right asset management platform is a great way to track your items and make your team members’ lives easier. But in order for everyone to get the most out of your program, it’s important to ensure the right people are assigned the right user permissions.
Here at Asset Panda, we allow you to add unlimited users to your platform and set custom user permissions. Whether you’re new to our software or looking to optimize your user permissions, you’ve come to the right place!
Let’s look at the benefits of Asset Panda’s user permissions, and how you can customize and templatize them.
The Benefits of Asset Panda's User Permissions
Before we dive into the ins and outs of setting up user permissions and templates, here are 3 key ways that Asset Panda’s robust user permission capabilities can benefit your team.
Gets your entire team on the same page
With unlimited users, your entire team can be added to your Asset Panda platform. This is especially beneficial for remote workforces and large organizations with various offices or job sites. Even when your team is spread across different locations, you can still work together to manage and report on your asset estate in real time – no more endless spreadsheet version tracking!
Provides users with the access that’s relevant to them
While you want to keep your entire team in the know, that doesn’t mean everyone should have access to everything in Asset Panda. With our highly customizable user permissions, you can give your end users, managers, and admins the right level of access – nothing more, nothing less.
Allows for department-specific instances under larger Asset Panda umbrella
Asset Panda has many functionalities that can benefit everyone in your organization, from HR to IT. That’s why we’ve made our platform incredibly flexible so each department can build their own specific instance all under the larger Asset Panda umbrella. This means your HR team can track employee records while your IT team can check devices in and out – and all the relevant data is stored in one convenient place.
Now that you understand the power of Asset Panda’s user permissions, let’s dive into how you can configure them in the platform.
Customizing User Permissions
First things first, it’s important to note that only the Company Administrator on your Asset Panda account can set or modify user permissions. You can confirm this information by going to your user profile, where Company Admin will say ‘Yes’ next to it.
To access and edit user permissions, go to your Settings icon and then click User Configuration. On the User Configuration page, you’ll see the option to edit user permissions next to each user’s name. Once you’re in an individual user’s configuration, select ‘Custom permissions’ in the User Template section. Then, you’ll see expandable sections where you can customize permissions for every aspect of your Asset Panda program, including Configurations and Group Objects.
For end users that will receive some but not all permissions, you can expand each section and select what actions they can and cannot take within each group. For example, you may allow your end users to view asset records within the group but not edit or delete them.
While customizing user permissions allows you to manage every last detail of what your team members can and can’t do in your Asset Panda program, there are a lot of boxes to check on or off along the way. And when you have more than a handful of people to set user permissions for, it can be a very time-consuming process. So, let’s look at how you can create user templates to easily set the right permissions for your team.
Creating User Permission Templates
To access your user permission templates, go to the Settings icon and click User Templates.
Once you land on the User Templates page, you’ll see a list of any existing templates you have as well as the option to ‘Add new user template’ in the top right-hand corner. After clicking this button, you’ll name your user template, and you’ll also see the option to Copy Security Settings from an existing template. This field isn’t required, but if you have a template that’s somewhat similar to what you’re creating, this can give you a good starting point.
Once you’ve named your template, click ‘Create User Template.’ After this, you’ll see all the Configuration and Group Object checkboxes that we went over in the previous section. Just like with custom user permissions, select the objects the user level will have permission to, and click ‘Save Permissions’ when you’re done. To assign your new template to the right user, simply go back to Settings > User Configuration and add the template under the individual’s user permissions.
Conclusion
Your Asset Panda user permissions play an integral role in the success of your program. While we recognize there are a lot of options to choose from when setting permissions, this is just one of the many ways we work to make Asset Panda fully customizable to meet your team’s needs.
If you’re an existing Asset Panda customer and have further questions about user permissions, please don’t hesitate to reach out to [email protected] for assistance.
Ready to custom-build your asset management platform? Request your Asset Panda demo today!

Learn more from an Asset Panda expert
Get a FREE consultation with an asset tracking expert to find out how you can transform your asset tracking.
Contact our Sales Team at (888) 928-6112